


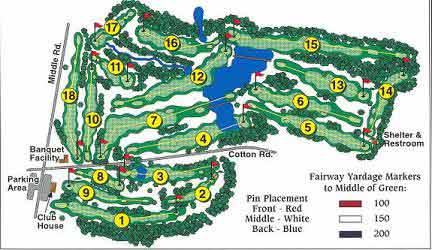
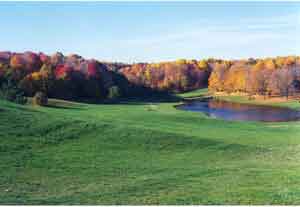
Whispering Pines Golf Course Layout
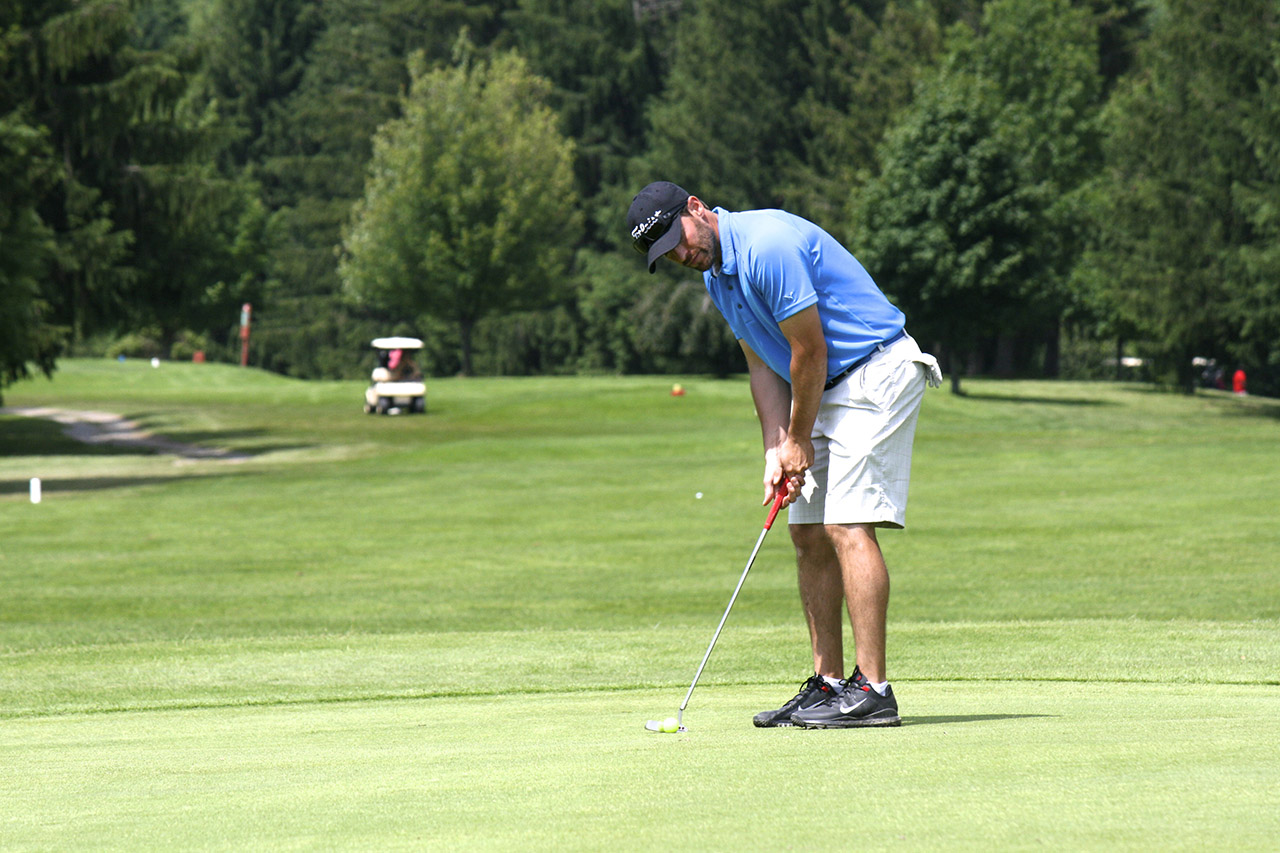
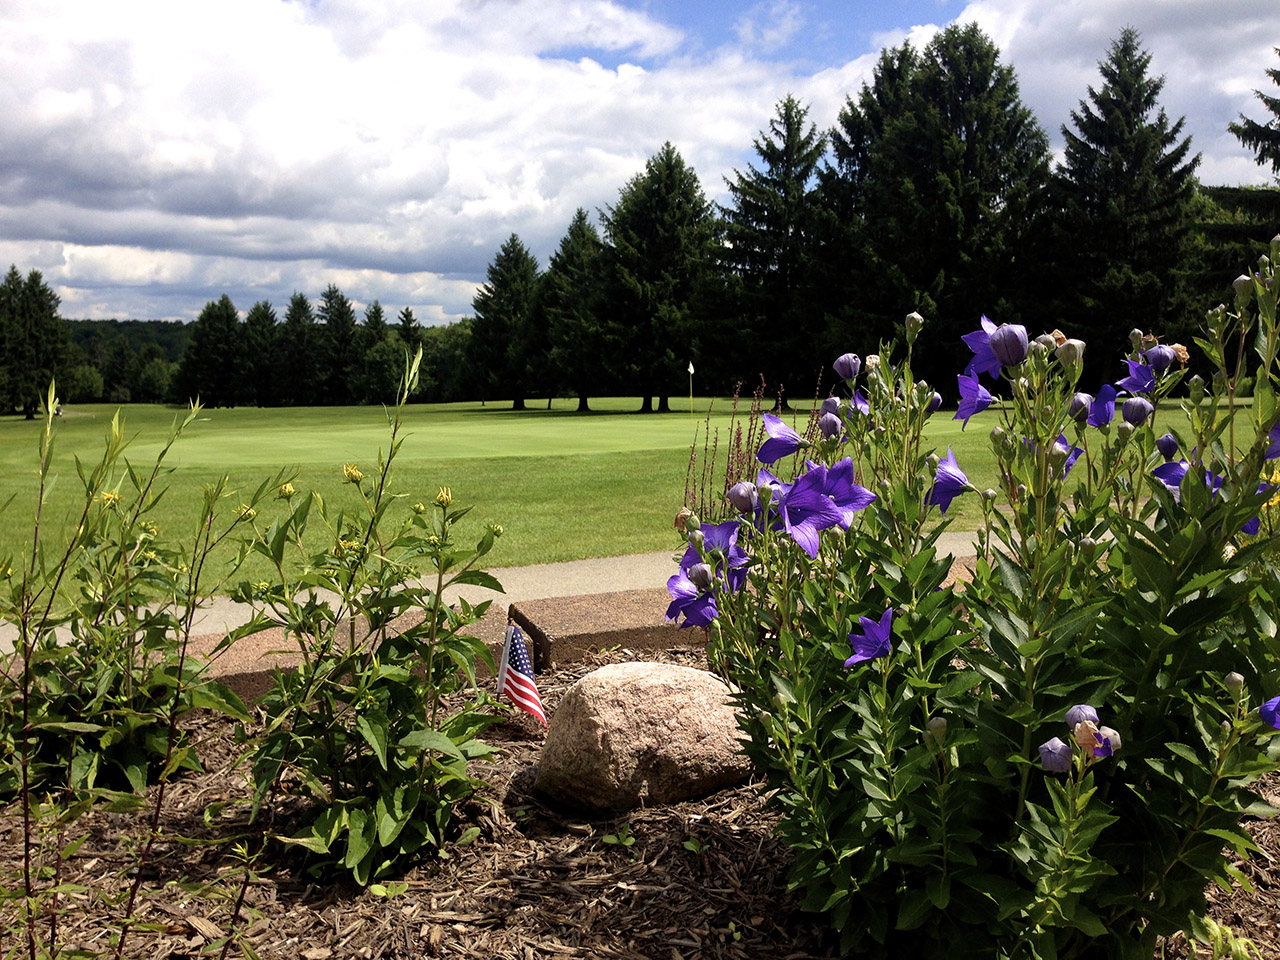
Take a quick glance at at a description of Whispering Pines Golf Course’s 18 holes. This brief tour of our layout should leave you with some idea of what makes us one of the finest courses in the Meadville golf community.
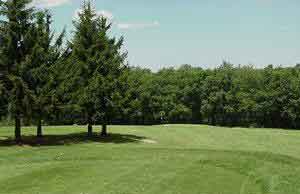
Hole #1
- 418 Yards
- Par 4
- #1 Handicap Hole
This tough opening hole requires a decent drive and an accurate second shot to the left side of the green. Everything will kick right and take you OB if you do not approach from the left. Over the green is a disaster (approximately 20 foot drop off). Par is a good score for this hole.
Hole #2
- 158 Yards
- Par 3
The second hole is a good par 3 from an elevated tee with no OB on the right or left. The green runs away from you. Playing short and rolling on can be a good shot. Don’t be long, because over the green is certain to land you OB.
Hole #3
- 319 Yards
- Par 4
This recently redesigned hole does not require you to use your driver. In fact, you should be just fine with a 3 wood or a long iron. There is a slight fade and roll on the fairway that will put you in good shape for a 125-yard or less shot to an elevated green. The approach goes over a small pond with OB to the right. The green slopes toward you, and it almost always holds your shot.
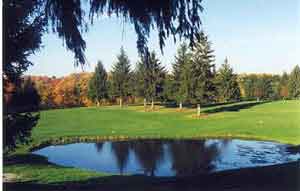
Hole #4
- 400 Yards
- Par 4
- Signature Hole
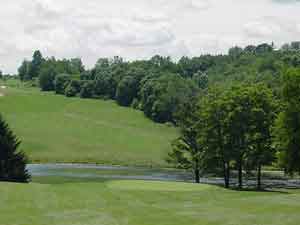
This hole slopes downhill with OB on the right and a wide open space to the left. The approach will take you over a large pond to a 2-tiered green that slopes toward you. This is a very picturesque hole, and the signature of Whispering Pines, but go over the green and you’ll score a bogey or worse.
Hole #5
- 422 Yards
- Par 5
This short, uphill par 5, which as OB along the sides, can be reached in 2 if you are a big hitter, but you shouldn’t have any problem reaching it in 3. The green slopes toward you, and this is a great hole to go for a birdie.
Hole #6
- 380 Yards
- Par 4
This is a great, downhill par 4 that leads to a sloping green that will hold a high, second shot. You do not want to go over the green, although there is more room to the lake than appears. A drive a short mid-iron shot will get you there, or you can considering bouncing on if that’s your game.
Hole #7
- 539 Yards
- Par 5
This hole is an uphill dogleg left to a sloping green. Both the white and blue tees require a 100-yard drive over the water, followed by an uphill fairway making it extremely tough to reach in 2 shots, unless you are a really big hitter. Keep right on the way up to improve your third shot. Stay below the pin if possible, because downhill putts will keep running.
Hole #8
- 168 Yards
- Par 3
This hole is a good downhill par 3 with right to left sloping green, one of the trickiest shots on the course. Pin position is critical here. Stay left and below the hole if possible. It does not hurt to bounce on as the ball will definitely roll to the left. This is a very tough hole if the wind is against you. A bogey is a distinct possibility on this one.
Hole #9
- 319 Yards
- Par 4
This is a short, uphill par 4. There’s a slight fade on the drive and you’re 100 to 125 yards in. The sizable green slopes toward you. Again, the fore caddie will tell you, “do not put yourself above the hole or you’ll suffer the consequences.”

Hole #10
- 307 Yards
- Par 4
A good drive and wedge will get you through a wide-open fairway and to a roll top medium-sized green, with more breaks than you’d think. You’d better score here, because it only gets more difficult.
Hole #11
- 172 yards
- Par 3
This downhill par 3 features a fairway lined with trees on the right and left, but make sure to watch out for the ravine on the left and the ditch on the right. High shots will hold, otherwise try to bounce and roll them on. You might consider a bogey a good score for this tough hole.
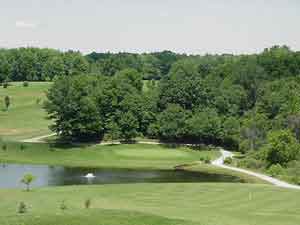
Hole #12
- 490 Yards
- Par 5
This hole features a gorgeous view from the top of an elevated tee. It also has a 120-foot drop in elevation, making for a great downhill hole with a slight dogleg to the left. The green is all touch, sloping back to the front and left to the lower right. A good drive will roll to the bottom of the hill, leaving you 180 to 220 yards in. A big pond on the right will catch long slicers.
Hole #13
- 308 Yards
- Par 4
This hole begins with a short uphill, blind tee shot. Kick a field goal with your drive between the two trees, and you will be 125 yards or less from the green, which slopes slightly right to the left with no big breaks.
Hole #14
- 252 Yards
- Par 4
There is a short, sharp dogleg right, here. Big hitters can go over the trees to approximately 235 yards for an eagle with a high shot. However, the safe way to play the hole is with a 5 or 7 wood straight ahead, leaving 50 yards to a rather flat green.
Hole #15
- 532 Yards
- Par 5
This hole is a long, sneaky downhill, lined with woods on both sides and a fairway that slopes right with OB. A decent drive and a solid second shot will put you on a flat landing area. Your approach shot should be less than 100 yards to an elevated green that slopes toward you. A small pond is on the left at the bottom of the landing area. Bogey is a good score, unless you hit 3 good shots.
Hole #16
- 330 yards
- Par 4
This hole opens with a short, uphill dogleg right to a large green that slopes toward you. A high fade is the best shot around trees on the right that can force you left through the fairway and to the woods on the left. There is more room to the right than just what you can see from the tee. A good drive will put you inside 125 yards to the green.
Hole #17
- 140 Yards
- Par 3
Hole 17 is short, picturesque and hourglass shaped. Tee off from the elevated tee over a large valley with trees on either side. You will find an extreme, sloping green, back to front that can lead to 3 putts if you’re not careful. Whatever you do, stay below this pin and don’t miss the green to the right or long. Take a par and be happy with it.
Hole #18
- 421 Yards
- Par 4
This is a very good, long finishing hole, punctuated with a deceiving green that breaks right to left. Good, right-center drives will put you in a great position away from the pines on the left and the fence line, OB, on the right. Long, second shots coming in will definitely kick left. Putts here are not straight, and, again, a bogey is not a disgrace.